Introduction
So, you’ve got your hands on a Trangia stove—congratulations! Mastering how to use a Trangia stove can elevate not only your outdoor cooking experience, but your overall experience in the outdoors. In our last post, we covered the benefits and components of a Trangia stove. Today, we’re getting into the nitty-gritty: from unboxing your stove to packing it away, and everything in between. Let’s dive in!
*Note that this guide assumes that you are using the classic series Trangia, with the standard spirit burner using methylated spirits*
Unboxing Your Trangia Stove
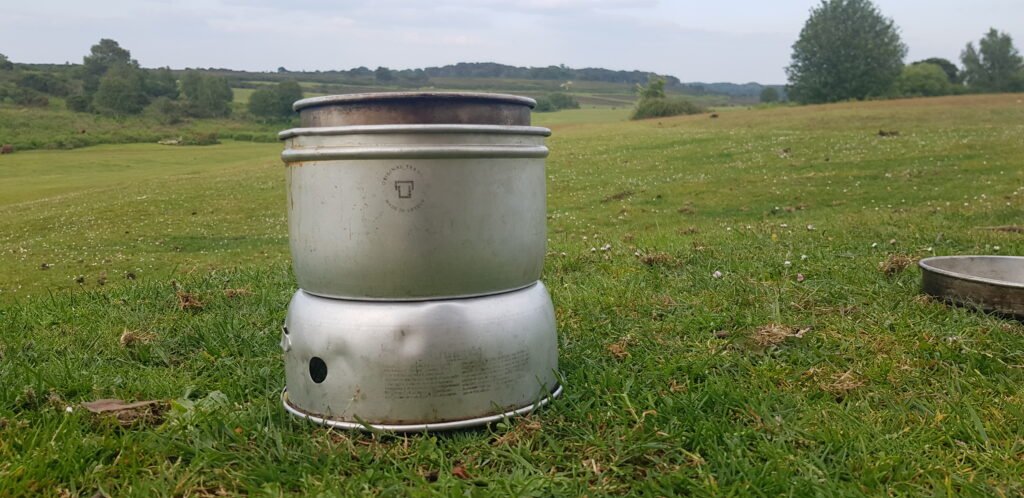
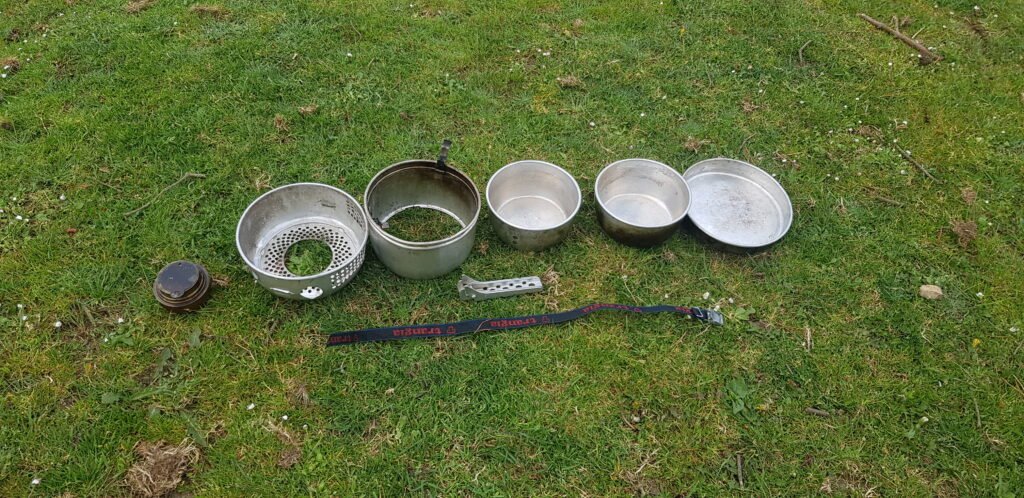
Opening a new Trangia stove box feels a bit like unwrapping a present, doesn’t it? Inside, you’ll find a collection of neatly nested components that are deceptively simple but incredibly effective. Here’s what you should see:
- Burner: This is where the magic happens—where your fuel burns to create the heat.
- Windshield (Upper and Lower): These pieces not only shield your flame from the wind but also provide a stable cooking platform.
- Pots and Pan: Perfectly sized for various cooking needs, from boiling water to frying up a quick meal.
- Handle (or Pot Gripper): Essential for safely handling hot cookware without burning your fingers.
- Strap: Keeps everything secure and compact when packed away.
Take a moment to familiarize yourself with these parts. It’s a bit like getting to know a new friend who’ll soon be indispensable on your adventures.
Trangia Stove Setup Guide
Setting up your Trangia stove is straightforward, but a little attention to detail can go a long way:
- Choose a Safe Location: Look for a flat, stable surface away from dry grass, overhanging branches, or anything flammable. Safety first!
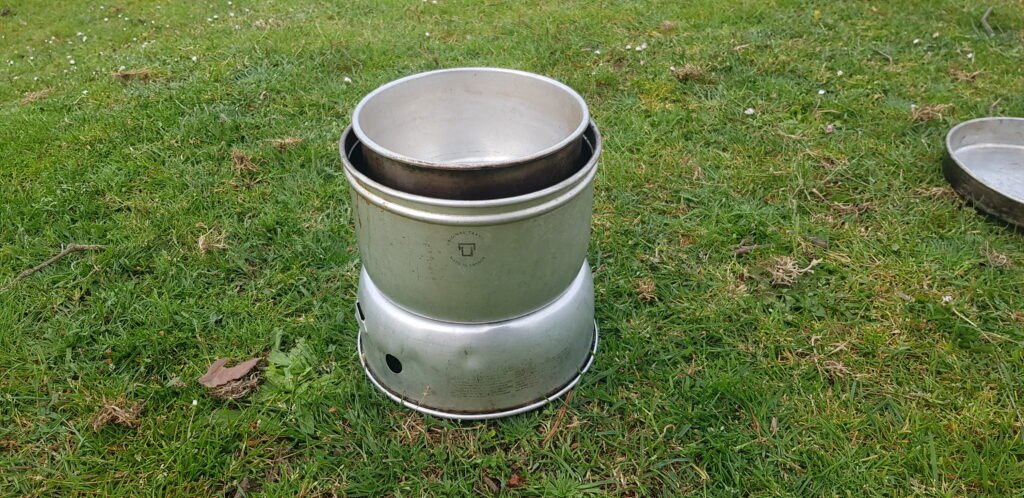
- Assemble the Windshield: Place the lower windshield on the ground. This forms the base. Next, insert the burner into the designated slot.
- Prepare the Burner: Fill the burner with your fuel of choice—methylated spirits are commonly used. Be cautious not to overfill it; about two-thirds full is ideal. Add a bottle cap full of water to the burner (trust me).
- Attach the Upper Windshield: Position the upper windshield securely on top of the lower one by rotating it into place. This will protect your flame and help focus the heat where it’s needed most.
Using Your Trangia Stove
- Lighting the Stove: Using a long match or lighter, ignite the fuel in the burner. The flame can often be hard to see in daylight, so be careful when you check if the burner is lit.
- Trangia Stove Tips for Lighting:
- Remove the upper windshield when lighting as it gets in the way.
- When it is really cold outside, the fuel can be difficult to light so before pouring in the fuel, keep the bottle in your jacket to heat it up.
- Trangia Stove Tips for Lighting:
- Cooking: If using a pot, then make sure the hinged pot holders are pushed inwards to allow you to place a pot close to the flame, and do the opposite for using a pan.
- Trangia Stove Tips for Cooking:
- Always cover your pots to conserve heat and cook more efficiently. If you are using the pots to cook, then you can use the pan as a cover.
- Stir your food regularly to prevent sticking and ensure even cooking.
- If it’s windy, position your back to the wind or use a natural barrier to shield the stove further.
- Use the simmer ring to control the intensity of the flame for more delicate cooking tasks.
- Trangia Stove Tips for Cooking:
Packing Away Your Trangia Stove
After a satisfying meal, it’s time to pack up:
- Extinguish the Flame: Use the simmer ring (fully closed) to safely extinguish the flame. Never blow it out—it’s unsafe and can cause fuel to splatter.
- Cool Down: Allow all parts to cool completely before handling. This is a good time to enjoy your meal and the surrounding nature.
- Disassemble: Remove any pots/ pan, separate the upper and lower windshields, and remove the burner.
- Clean: Wipe down all components to remove any food residue or soot. A clean stove is a happy stove and performs better. Remove any un-burned fuel that is still inside the burner, do not store fuel inside the burner when it’s packed up and you’re traveling.
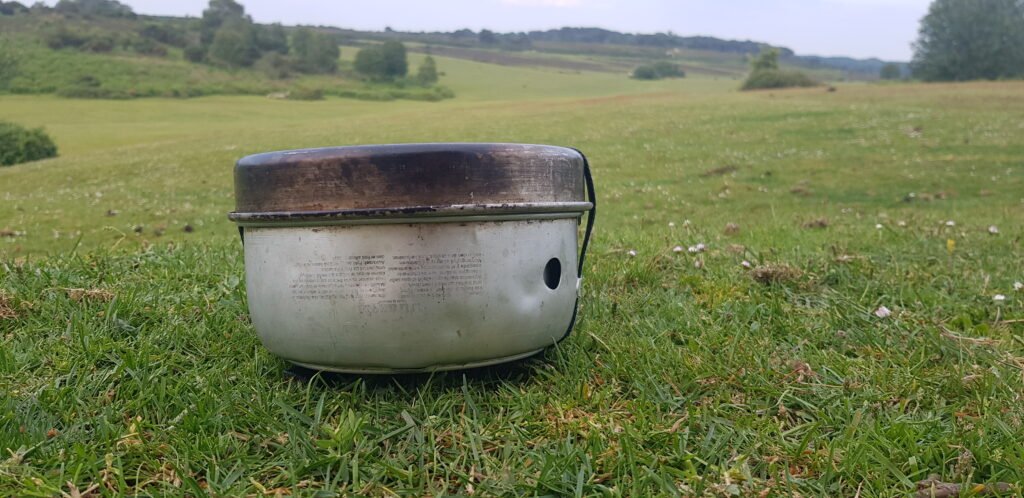
- Pack: Place the burner and handle inside the nested pots within the windshields, place the pan upside-down on top and secure everything with the strap, and you’re good to go.
Caring for a Trangia Stove
Proper care ensures your Trangia stove lasts for many adventures:
- Cleaning: After each trip, thoroughly clean the pots, pan, handle, and windshields with warm, soapy water. Avoid abrasive cleaners that can scratch the surfaces.
- Storing/ Transporting: Ensure that all components are clean and dry before packing away to avoid mould and corrosion. Pack the Trangia stove up, securing with the strap, and store it in a bag. I would recommend Trangia’s own storage bag, which I also use to carry the stove in my backpack.
- Maintaining the Burner: Regularly check the burner for any residue buildup. Clean it gently with a soft brush or cloth.
- Repairs: Keep an eye on the condition of the components and replace them as needed to maintain optimal performance. Another beautiful advantage of using a Trangia is that all components, down to seals, can be replaced separately so you do not need to buy another whole stove if something breaks.
Conclusion
Knowing how to use a Trangia stove properly is a straightforward and satisfying process that, with a bit of practice, becomes second nature. By following these steps and tips, you’ll be cooking up a storm on your camping trips in no time.

